If you work in tech, product management or design, it’s very likely that you heard the term “Design Sprint“ at least once. I wanted to address some of the most common misconceptions people have about Design Sprints.
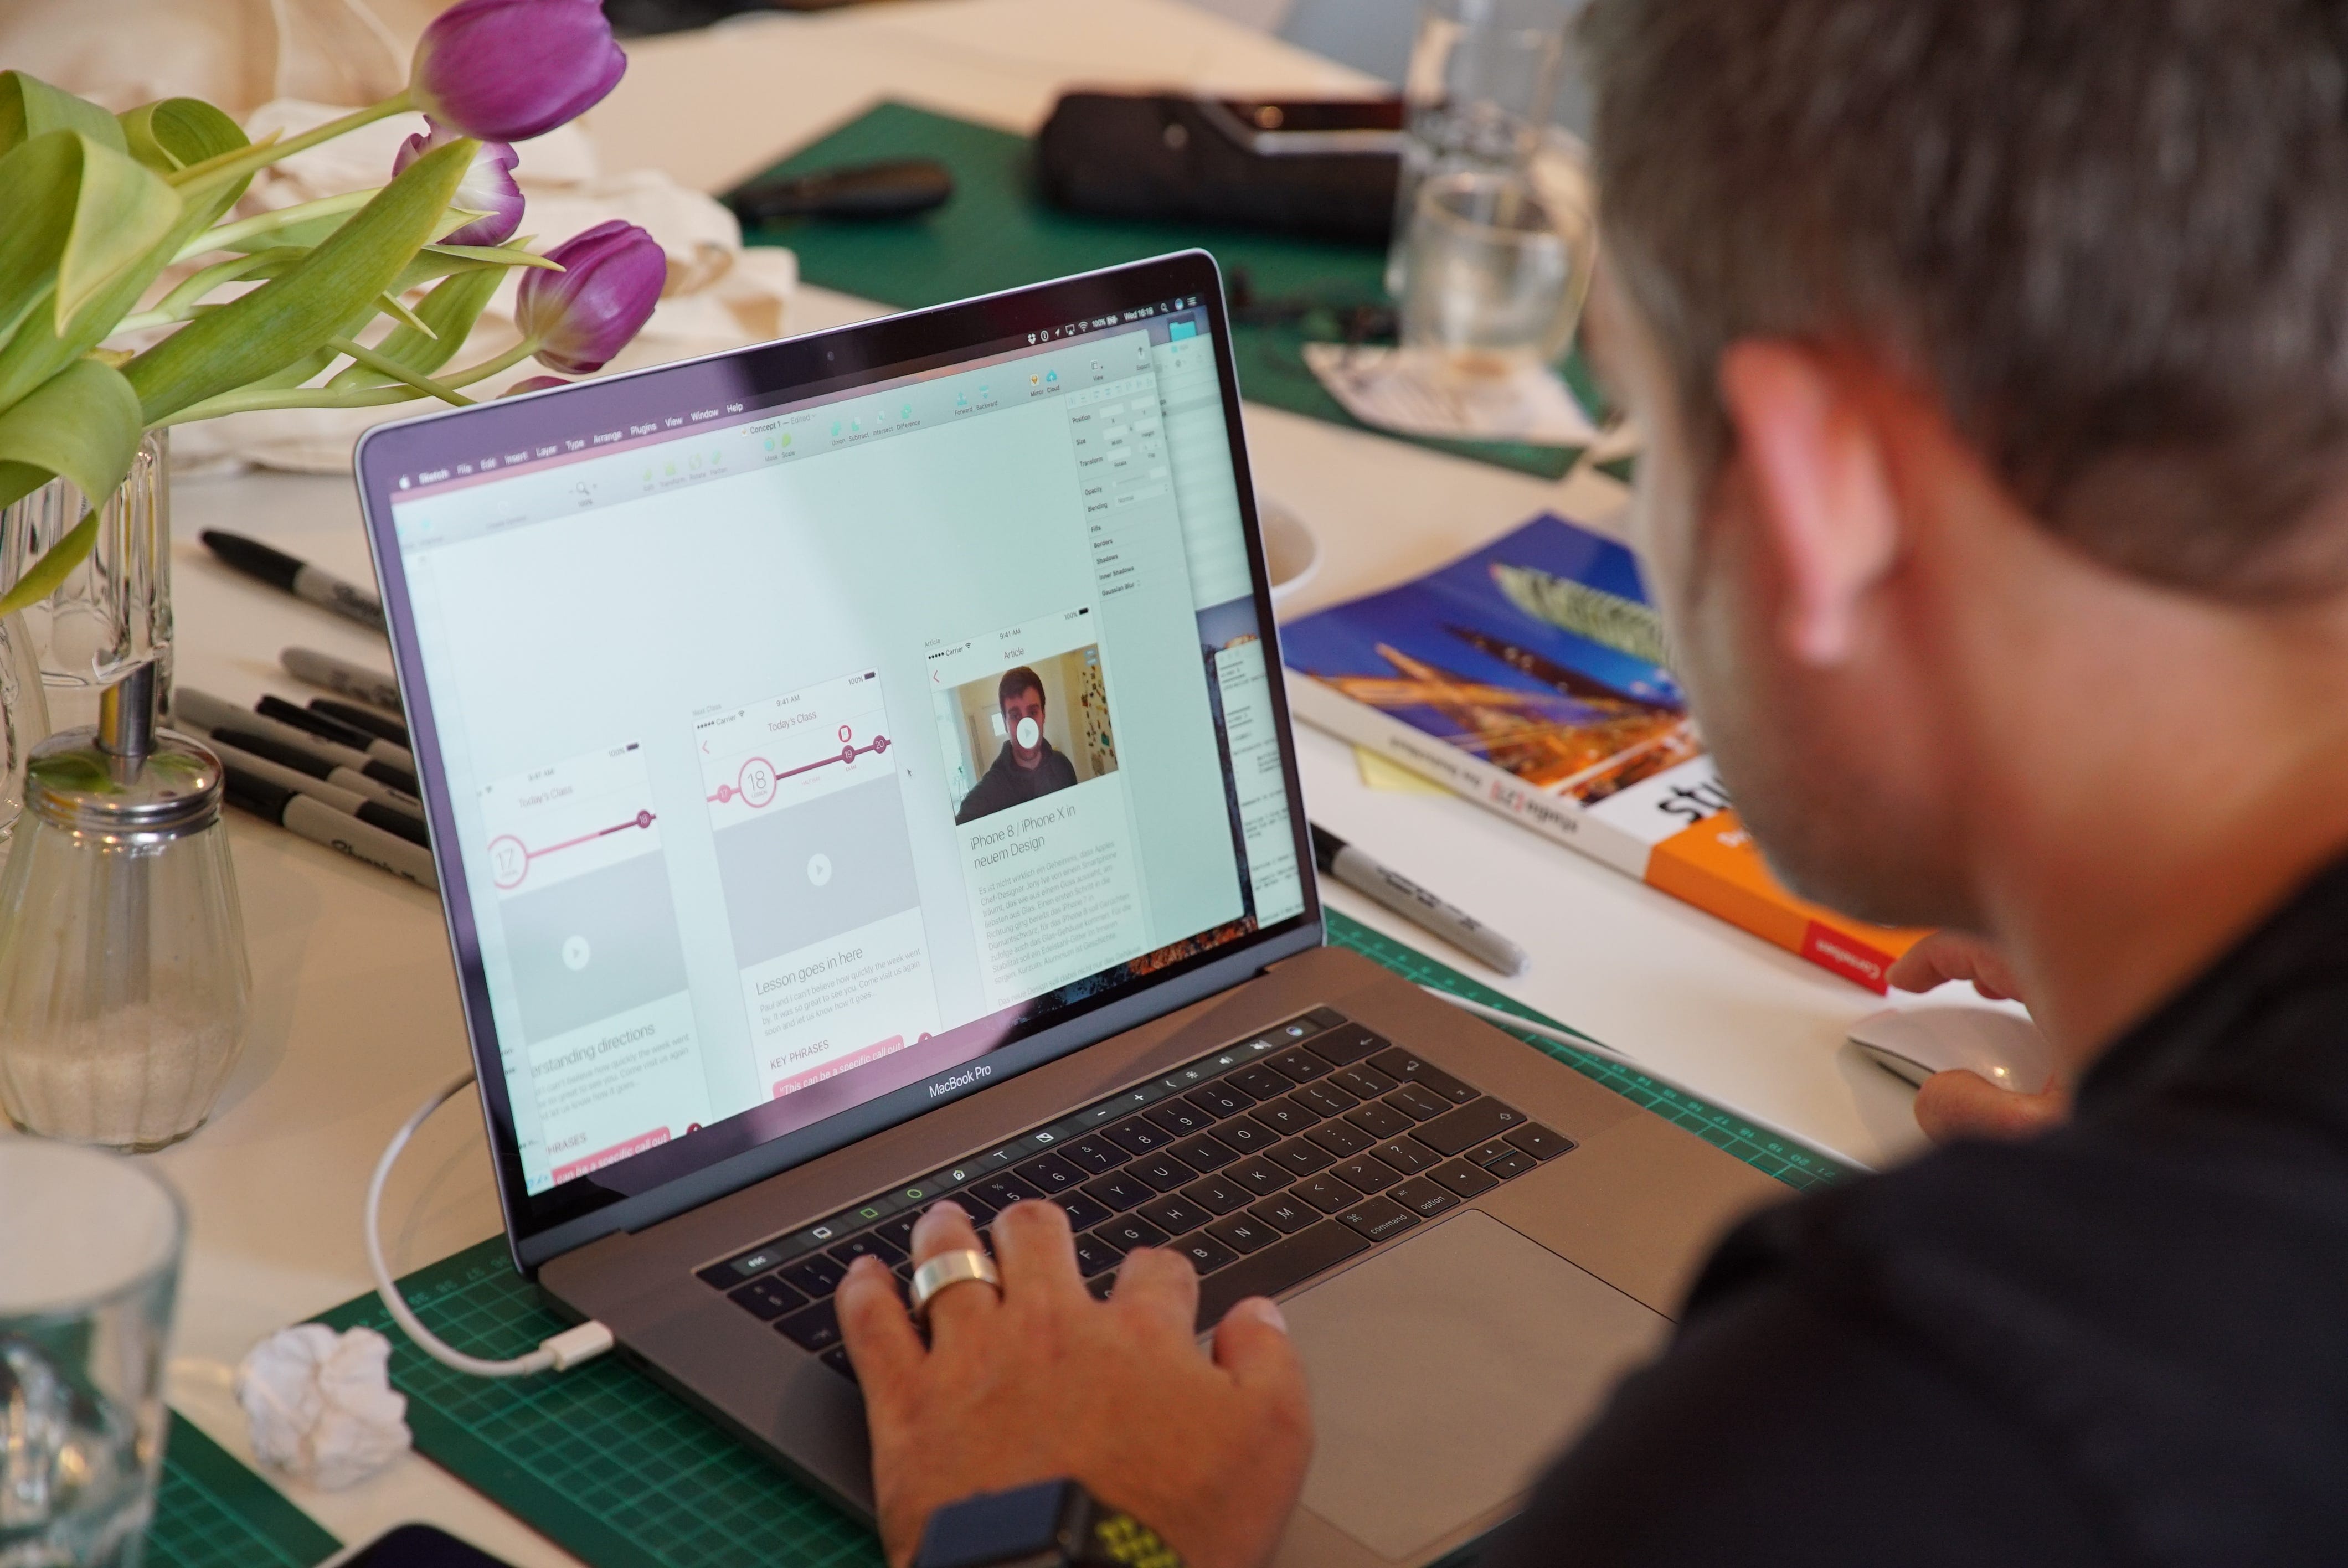
We create high-fidelity prototypes every week. Here is how we do it and get home on time!
I am a Product Designer at AJ&Smart, a Design and Innovation Consultancy that has run Design Sprints (created by Jake Knapp, formerly of Google Ventures) for our clients from various industries for several years. Here’s a very condensed definition of Design Sprints, in case you never heard the term before: A Design Sprint is a very lean, fast and structured process to come up with ideas, rapidly prototype them and then test them with users — all within one week.
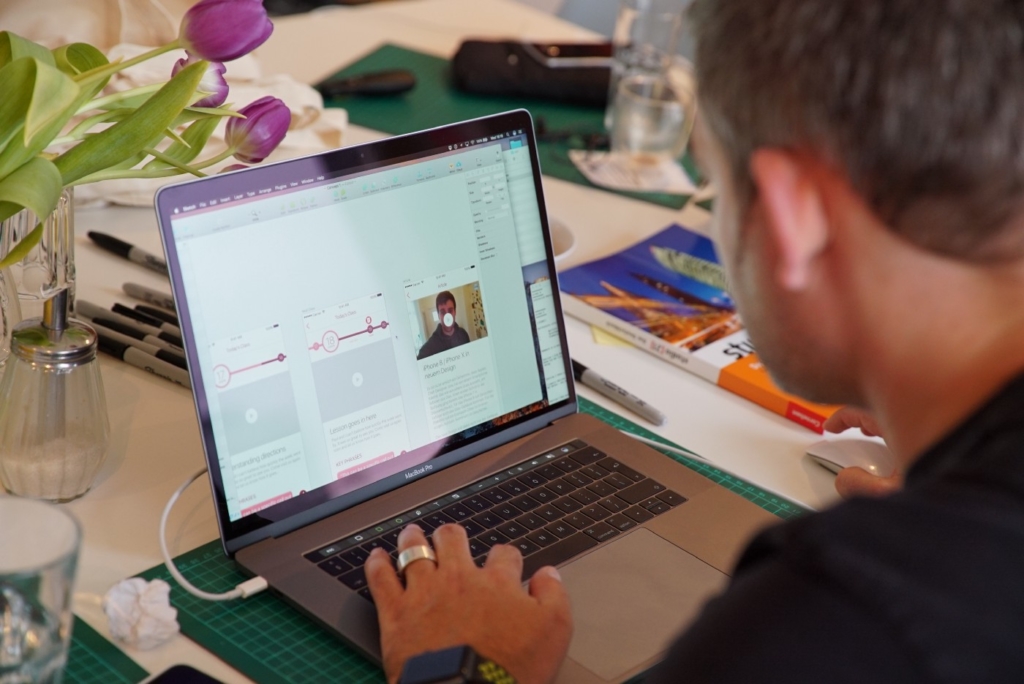
So every week, we run a Design Sprint with one of our clients. And every week, we rapidly prototype interactive digital product to put them in front of testers. For this, we have only one day. That’s it. Whenever we show examples of our prototypes, people are in disbelief that this is possible in such a short amount of time.
Some of our prototypes have as many as 40 screens. To get this done in 8 hours, we would need to finish 5 screens every hour (or 1 screen every 12 minutes!). This doesn’t account for breaks, letting your mind wander for a moment, or thinking about alternative approaches.
That’s a crazy amount of work for one day!
But as a company, our goal is to have consistent 8-hour workdays with zero overtime. Generally, we have been very successful with this. But squeezing the workload of prototyping day into a standard-length workday has been a tough nut. And we cracked it! Of course, you need a great team. But you also need a great workflow. We now have over a hundred sprints under our belt and found some ways to make this day much more manageable, which we would like to share with you:
I. The Day Before
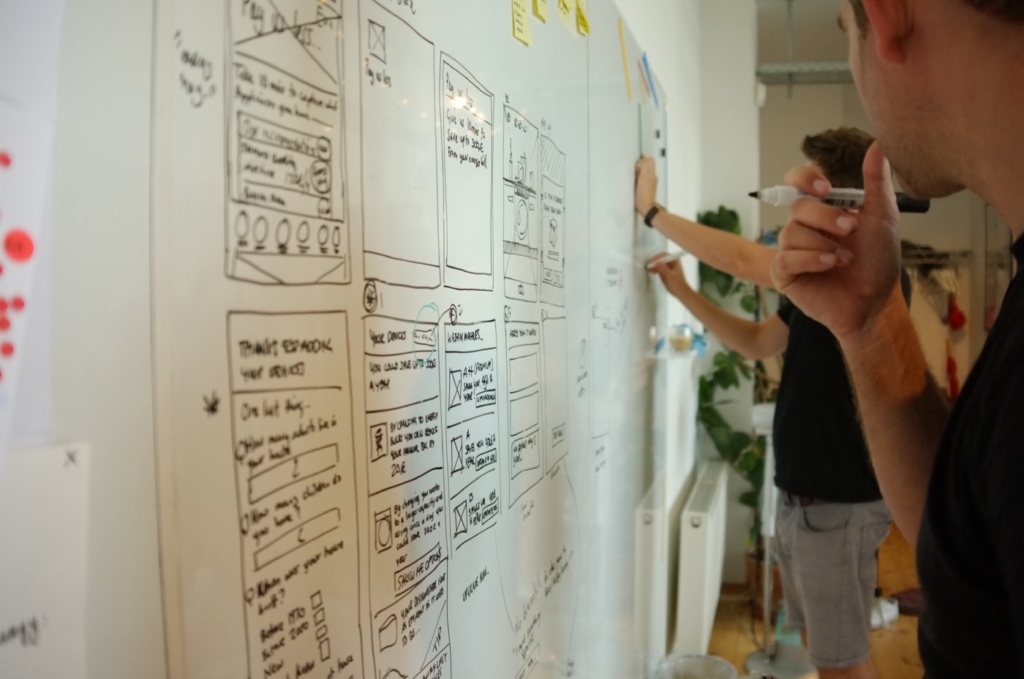
1. The Storyboard
The Storyboard is a really important part of the sprint process. It’s also the most difficult because it’s the first time in the process doesn’t follow the “Together Alone” approach, but is a group exercise with a lot of going back and forth, rambling discussions and second guessing.
It’s exhausting for everyone involved: The facilitator, the artist, the other Sprint participants. However, it’s an absolute must. Whenever we tried shortcuts or rushed it to get the it done as fast as possible, it came back to haunt us and lead to more stress during the prototyping.
We came up with a little hack to make the storyboarding much more structured (read: Storyboarding, 2.0!), but there’s just no way around doing a proper storyboard. If you skip this part of the process (“Nobody of us can draw”, “We already have so many good ideas”, “We’ll let the designers figure it out”), you can forget about getting your prototype done in one day, period.
Here’s what you need to do:
- Be specific and hash out the details, especially when it comes to content. Having to research these things during the prototyping day takes up a lot of time and mental bandwidth and you won’t have either.
- Have all designers who work on the prototype be in the room when the storyboard gets drawn. Rapid prototyping requires a good, shared understanding of what the prototype is supposed to achieve.
- Review the sprint questions and mark the most important screens. These are screens that have to be ready for the user-test, no matter what. Usually, these screens also take the longest time to get right.
2. The Placeholder
Use the last 10 minutes of the day to prepare a prototyping work file for the Stitcher. At this point, it’s just a Sketch file with very crude placeholder screens that the Stitcher will use to put together the prototype the next day.
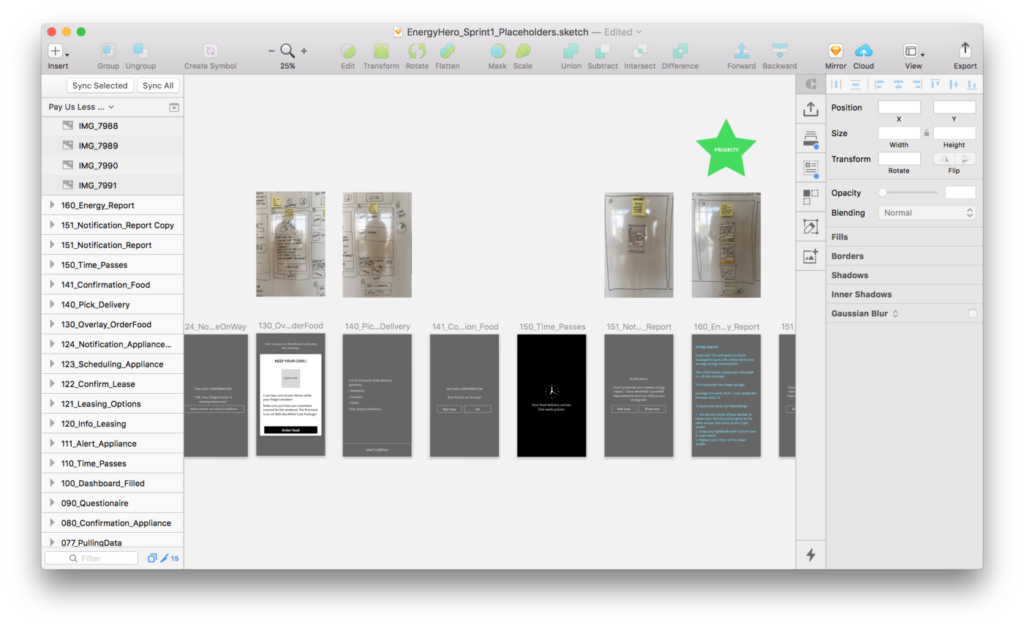
- Take photos of every cell of the storyboard and put it on top of the corresponding placeholder in the Sketch file.
- Use a proper naming system for the placeholder screens so the right order of screens doesn’t become guesswork. Here’s a tip: If you name the first screen 010, the second screen 020 and so on, it’s easy to add additional screens without breaking the consecutive numbering (three extra screen after 010 would be 011, 012 and 013).
That’s the end of the day!
II. Prototyping Day
3. The Huddle
The next day, the entire prototyping team (the Stitcher, the Artists, the Collectors) starts off with a short (10–15 mins. max) huddle in front of the storyboard. This is important to make sure that everybody is on the same page and nobody loses sight of what the prototype needs to achieve.
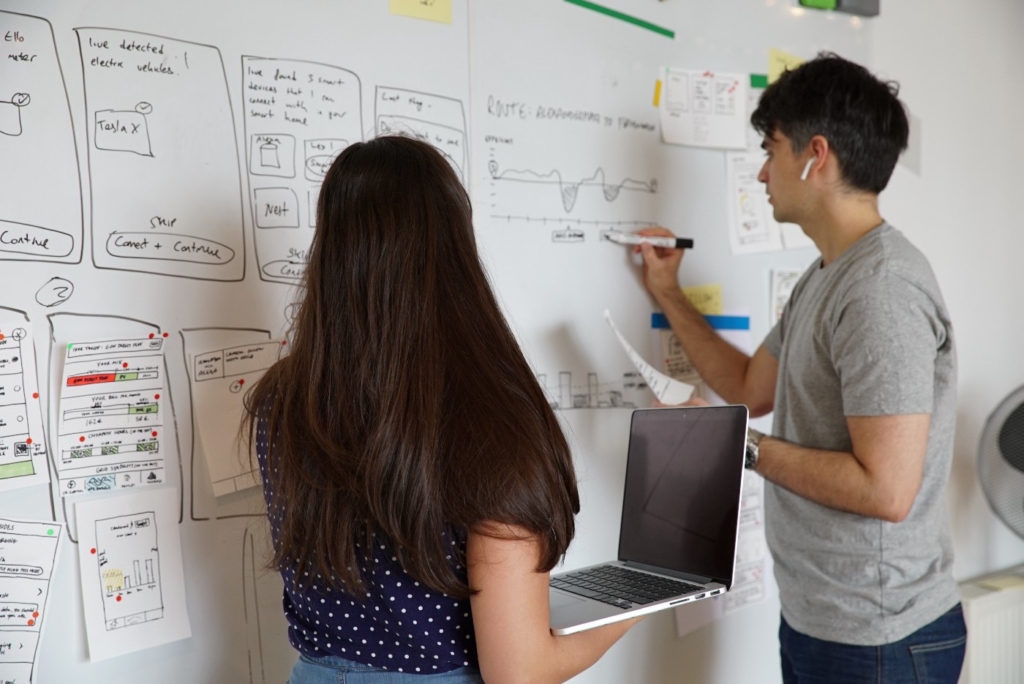
- Recap. First, the moderator of the first sprint days reiterates the sprint questions, and then goes through the entire storyboard. If anything is still unclear, get it sorted out now. And if you haven’t done it yesterday, now is the time to mark the high-priority screens!
- Split the work. Assign parts of the storyboard to different team members.
- Lock in testers for the next day. This should be done by whoever is not directly involved in the prototyping.
4. The Tools of the Trade
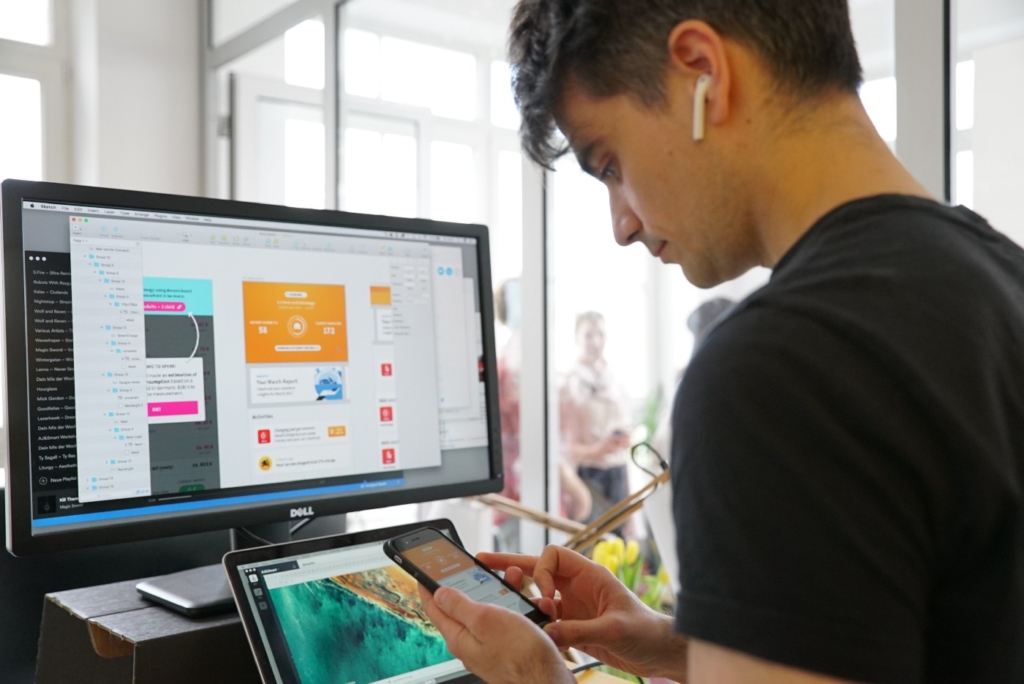
Creating a prototype doesn’t mean you have to code. Tools like Invision or Marvel are perfect for rapid prototyping, and they also allow for easy remote testing.
- Use Sketch plug-ins. Both tools offer excellent plug-ins to sync your designs directly with your prototype, which is a huge timesaver. Since you can’t reliably sync a prototype from multiple files, the best practice is to let the Stitcher do all the syncing.
- Follow a clean workflow. Until we have tools that allow several people to work on the same file in real-time, everybody on the prototyping team works on their own file. As soon as a screen is finished (or good enough to be considered a version 1.0), the Stitcher adds it to the file that is synced with the prototype, where it replaces it’s placeholder.
This way, the stitcher can already start putting together the interactive prototype even when there are still screens missing, and little by little, the prototype file gets filled. This also allows the stitcher to do an extra layer of quality control and proofreading, to check for inconsistencies and make sure the flow through the prototype makes sense.
5. Prototypes ≠ Perfect
Even with rapid prototyping, the prototype has to look great. Our testers have to approach them as if they were real products. But our time is limited, and we have to make a trade-off: If we want to get done in time for the test, we have to focus on what matters most, and that is creating a prototype that allows us to get clear answers to the sprint questions.
What we can’t focus on is pixel-perfect design, color schemes, typefaces or how the branding looks — at this point, none of these matter! At the end of the user test, it’s very possible that the prototype lands in the trash, and that all the effort that went into the branding has been wasted. Even if the prototype hits the mark completely in the first week (which is very unlikely), it’s still a long way to a full-fledged product. Fine-tuning has it’s time and place, but this time is not now.
That’s why we try to focus our efforts on where they count and streamline the rest of the design process as much as possible:
- Pick one typeface and use it in all of your prototypes. Go for something that is readable and versatile. We like to use Source Sans Pro or Roboto because they offer many weights and are available for free from Google Fonts.
- Use templates whenever you can. There is no need to recreate a system notification screen from scratch. There are lots of templates available for free. Use them to free up time and focus on what really matters.
- Don’t worry about branding. Most of our prototypes, even for well-known Fortune 500 companies, have completely generic, vanilla branding (we called one of our prototypes “Pickle”). We tell our clients up front that we won’t stick to their CI or styleguide.
- Steal whenever you can. We get whatever imagery we can find and don’t even bother licensing it. It’s not necessary, the prototype will never leave the confines of our testing environment.
- Build “Frankenmocks”. “Frankenmocking” is taking parts from other, older prototypes and creating something new and different from it. Over the years we have created a massive amount of prototypes. Whenever we can, we go back and take parts of them and repurpose them to save time.
- Focus. Don’t waste time figuring out where the user would change their settings, how the log-in would realistically work, or if your prototype complies with accessibility norms. These things don’t matter (for now). What matters are the sprint questions.
6. The Right Environment
The workload on prototyping day is very high, so everybody has work very streamlined and efficient to get everything done in time. Here are some of the things you can do to help your prototypers get done in time.
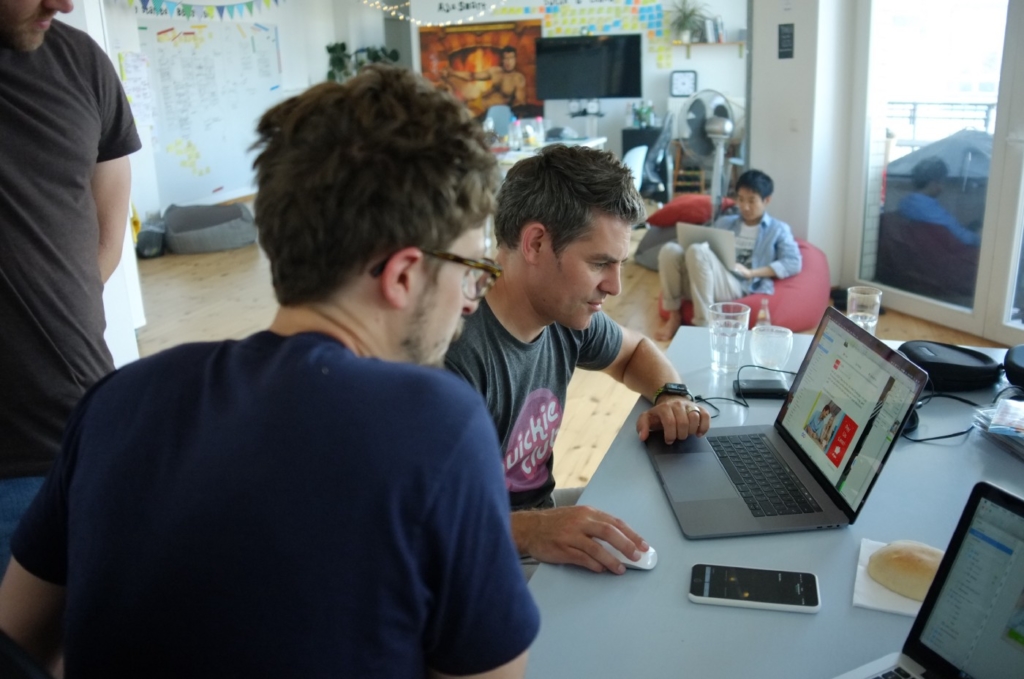
- Create a distraction-free environment. We have a separate room for the prototyping team and make sure people don’t disrupt the work so the team can focus. Even a short, friendly visit to see what the team’s up to will take the entire team out of the zone for a long time. Even after a short interruption it takes roughly 25 minutes get back at a task (read: Why Context Switching Ruins Productivity)
- Allow your team to focus. At AJ&Smart, prototypers can concentrate on their work without “agency side-quests” like unrelated meetings, stand-ups, or other projects. If you want to run your own sprints, forget about giving members of the prototyping team any other tasks — it won’t work.
- Treat your team. They are working hard and don’t have much time for a prolonged lunch break. It’s a good idea to order them lunch or bring them something from the outside world.
7. Check-ins
Since everybody pretty much scrambles to get stuff done as fast as possible, it’s important to align along the way. Otherwise, you’ll end up with a disjointed mess of a prototype full of holes. For this, we have two check-ins.
- Check-in 1 of 2. The first check-in happens at lunchtime and the entire team takes a look at what everybody got up to. We now combine the first check-in with team lunch for the entire prototyping team, where we take turn to show the state of our work on a screen for the entire team.
- Check-in 2 of 2. The second, final check-in happens at 5pm. At this point, the most important screens should be in a state where you can put them in front of the first tester.
- Avoid excessive check-ins! Let people do their work, two check-ins are enough.
8. After 5pm: Mopping Up
After the second check-in, the main part of the prototype should be complete or close to completion and already allow you to get clear answers on the sprint questions. Now, you can use the rest of the workday to add missing non-essential screens and do a last run-through of the prototype. The last thing we do before we head home is to send our clients a link to the prototype, so they can take a look in the morning.
Then, everybody gets home on time and gets some well-deserved rest!
III. User Testing Day
9. After the First Test
That’s right, we are not done yet! During the first user test, a lot of shortcomings of the prototype will become obvious: Problems with the flow, button labels that are confusing, missing elements, typos, glitches. All of this is normal and happens every time, and normally doesn’t impact the user test too much, since our interviewers are really good at glossing over these little problems. Still, we want to fix those things so our testers don’t get thrown off too much.
- Schedule a one-hour-gap between the first and the second test. This gives you an extra hour to fix whatever needs fixing.
- Prioritize the fixes by urgency and effort they take. Fix what’s most important first, and if the time permits, the small things that are left (i.e., typos).
- Sync your changes. Make sure your changes are properly synced with the prototype, but never during a test. This can break the prototype. Also resist the temptation to keep tinkering at the prototype, it’s not necessary.
Conclusion
I hope this little peek behind the curtain demystifies rapid prototyping and makes it a bit clearer how creating a prototype in one day without overtime is easily doable for experienced designers with a proper workflow. If you try these tips for yourself, please let me know how it went, and if you have your own tips to share, I’d love to hear them!
Hacking GV’s Design Sprint storyboarding to get results faster, with less stress.
News and media find themselves in a race to the bottom as social media platforms and Google turn journalism into commodified pieces of content. Are newsreaders a way out?

As patterns and design systems mature, and white label UI kits and website builders become ubiquitous, what does that mean for designers?